
Are you ready to take your food photography skills to the next level? In the article “Master the Art of Food Photography,” we will guide you through the exciting world of food photography and help you capture stunning images that will make mouths water. Whether you’re a food enthusiast, a budding photographer, or simply someone looking to improve their Instagram game, this article is packed with tips, tricks, and techniques that will elevate your food photography from ordinary to extraordinary. So grab your camera and get ready to embark on a deliciously visual adventure. Let’s dive in!
Choosing the Right Equipment

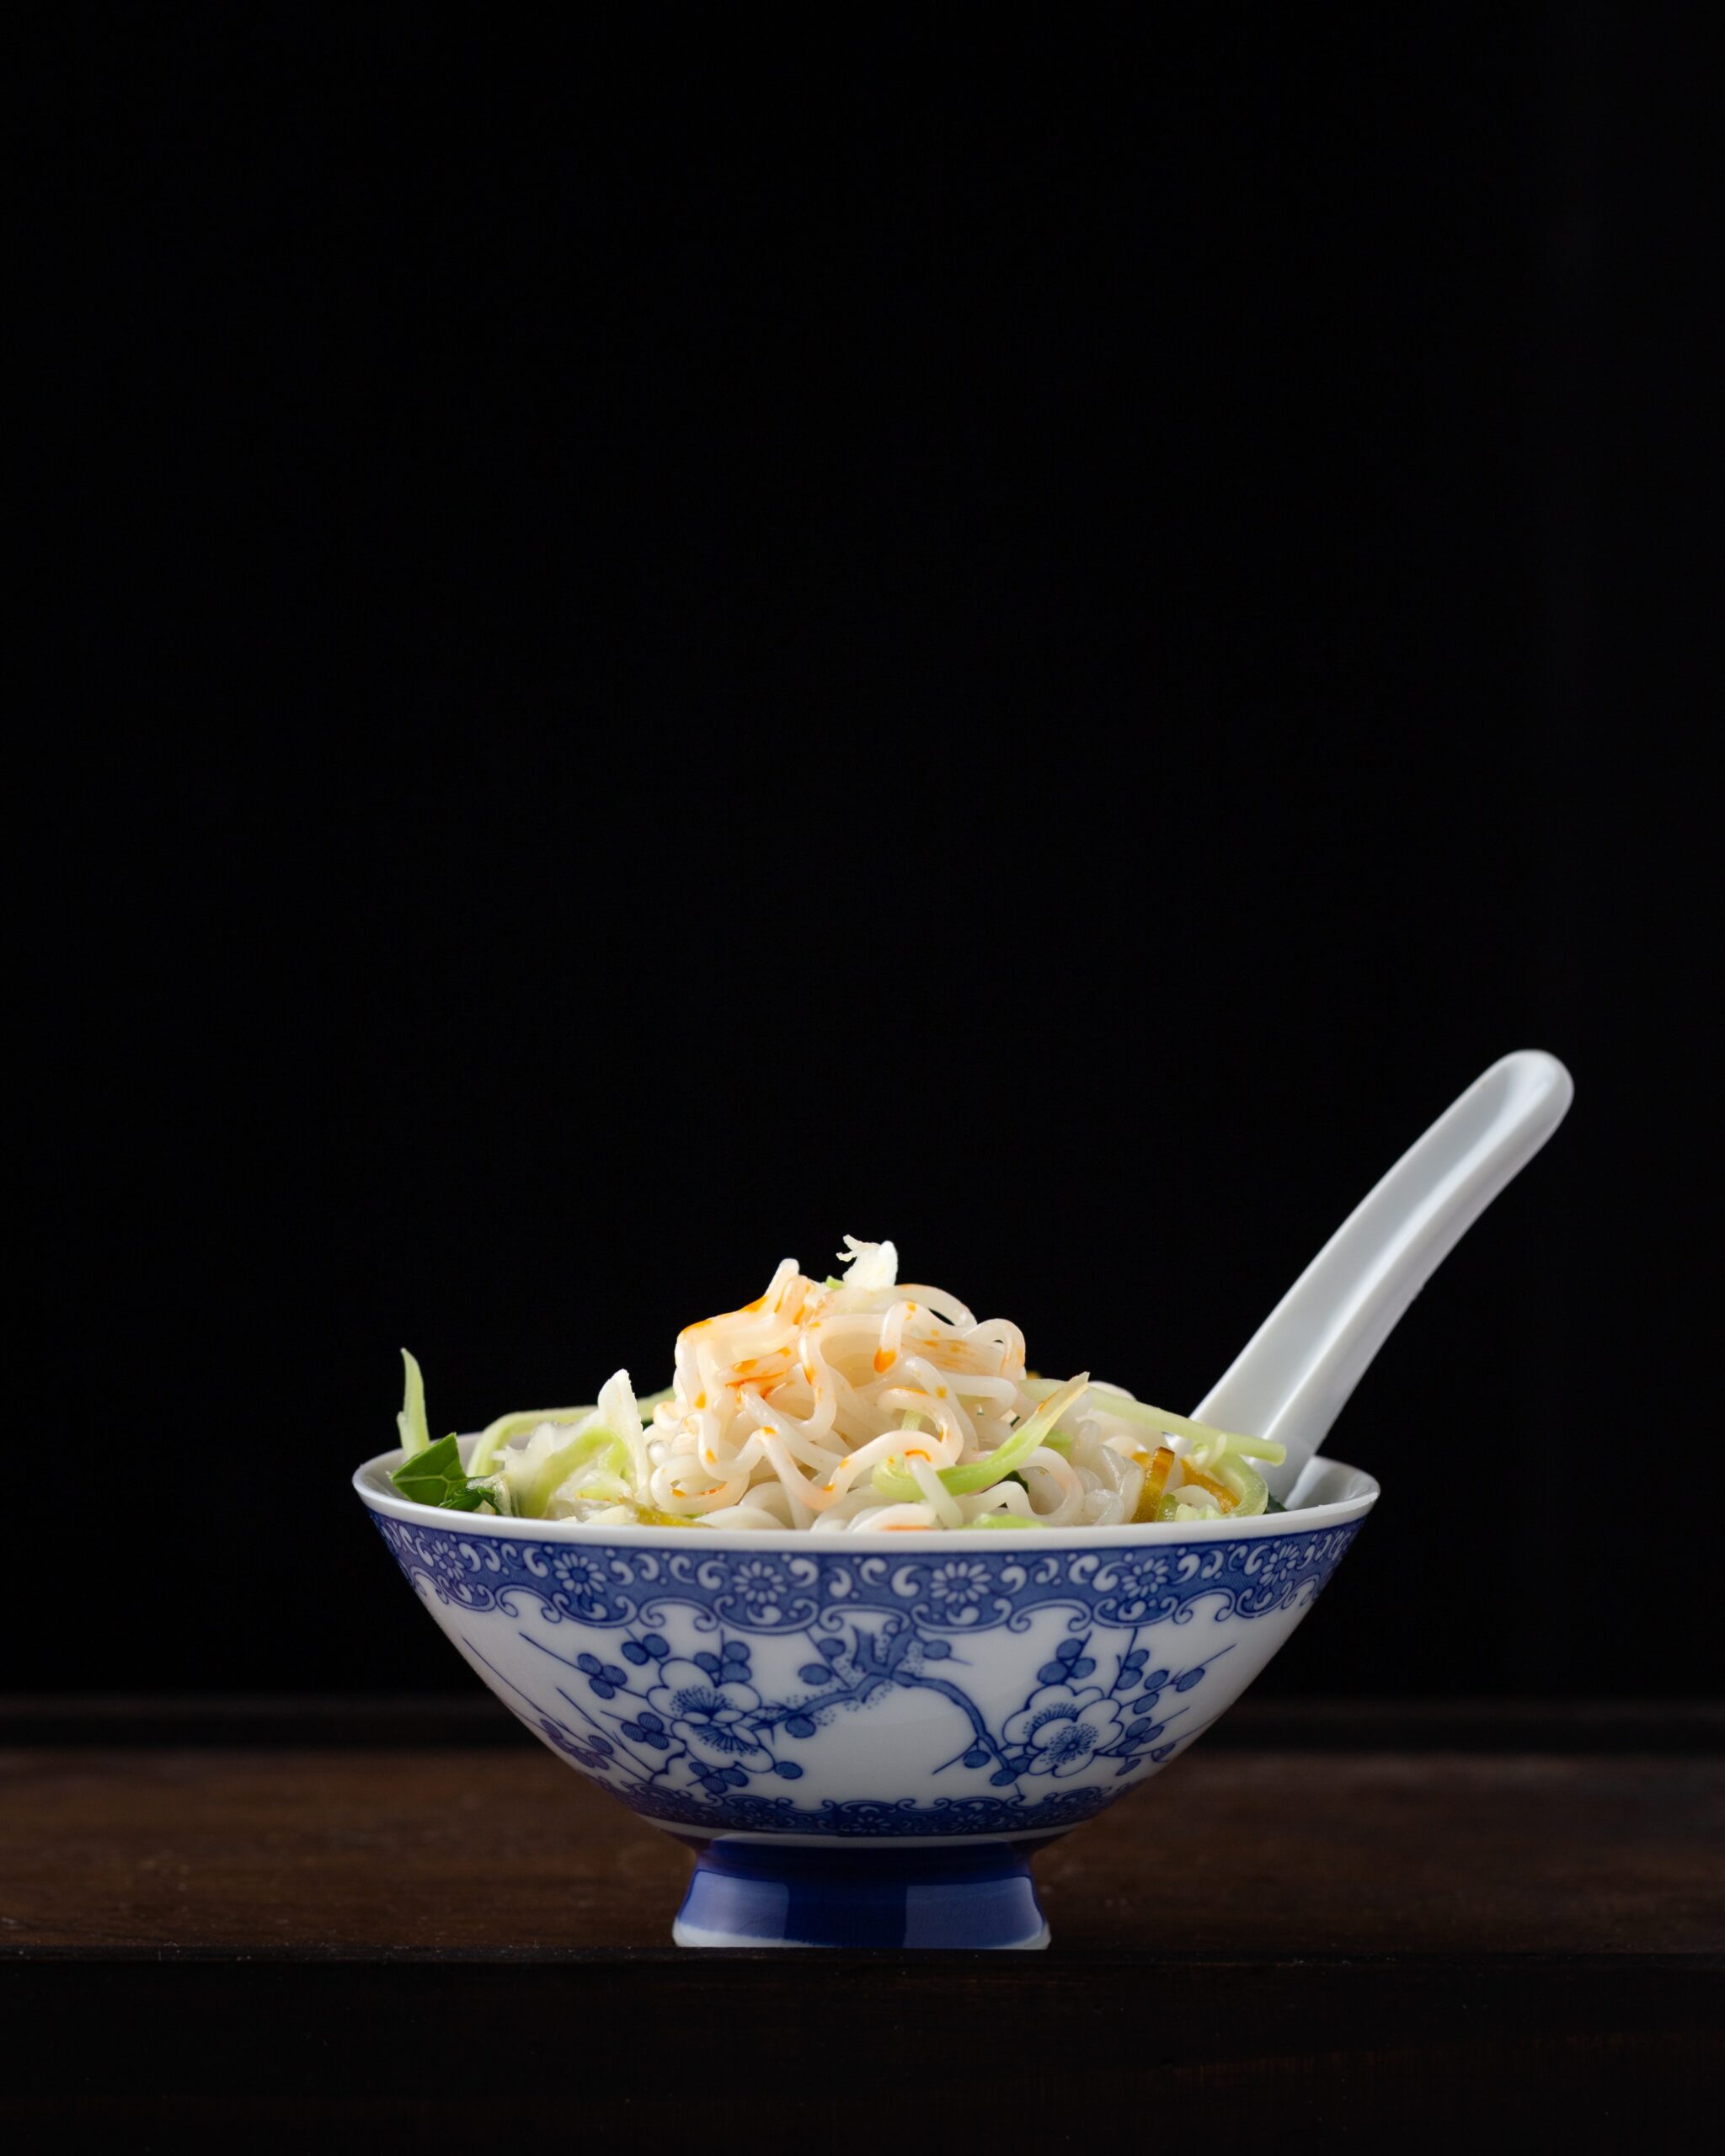
This image is property of images.unsplash.com.
Camera
When it comes to food photography, having a reliable camera is essential. You want a camera that allows you to capture high-resolution images with accurate colors. While smartphones can produce impressive results, investing in a DSLR or mirrorless camera will give you more control over your shots. Look for a camera with a good sensor, manual mode options, and the ability to change lenses.
Lens
Choosing the right lens can greatly impact the quality and composition of your food photography. Prime lenses with a wide aperture, such as a 50mm or 85mm, are popular choices as they allow for a beautiful background blur, or bokeh, that draws attention to the subject. Macro lenses are also great for capturing intricate details and textures. Consider your shooting style and the type of shots you want to achieve when selecting a lens.
Tripod
Using a tripod can provide stability and ensure sharp images, especially when shooting in low light conditions. It also allows for precise framing and composition. Look for a sturdy tripod that can support the weight of your camera and lens. Consider a tripod with adjustable legs and a head that allows for smooth panning and tilting movements.
Lighting
Lighting is one of the most important aspects of food photography, as it can greatly affect the mood, colors, and overall quality of your images. There are two main types of lighting: natural light and artificial light.
Natural Light vs Artificial Light
Natural light is generally considered the best option for food photography as it creates a soft, diffused illumination. Shooting near a window or in an outdoor setting during the golden hour (more on that later) can produce beautiful results. However, natural light is not always readily available, especially in indoor settings or during evening shoots. In these cases, artificial light sources such as continuous or studio strobes can be used to achieve the desired lighting setup.
Diffused Light
Diffused light is light that has been scattered or softened, resulting in reduced shadows and a more even illumination. Softboxes, umbrellas, or even sheer curtains can be used to diffuse natural or artificial light sources. Diffused light helps to reveal the textures and details of the food while minimizing harsh shadows and highlights.
Golden Hour
The golden hour, also known as the magic hour, is a period shortly after sunrise or before sunset when the sun is low in the sky and produces a warm, golden light. This soft and flattering light is highly sought after in food photography as it adds a natural, ethereal glow to the subject.
Backlighting
Backlighting involves placing the light source behind the subject, creating a halo effect or highlighting the edges of the food. This technique adds dimension and depth to the image, making the food appear more vibrant and appetizing.
Fill Light
Fill light is used to reduce the shadows and provide additional illumination to the scene. It helps to balance out the exposure and create a more pleasing overall appearance. This can be achieved by using reflectors, bounce cards, or additional light sources to fill in the darker areas of the image.
Props
Props play a crucial role in food photography as they help to set the scene, add context, and enhance the overall composition. When choosing props, consider the style and theme of the dish you are photographing. Simple, neutral-colored props can help draw attention to the food itself, while textured or colorful props can add visual interest and complement the colors of the dish. Experiment with different props to create a unique and appealing visual story.
Understanding Lighting
Natural Light vs Artificial Light
As mentioned earlier, natural light is often preferred in food photography due to its soft and diffused quality. It is readily available and can be manipulated by positioning the subject near windows or shooting outdoors. Artificial light, on the other hand, allows for more control and consistency in lighting setups. Continuous lights provide a constant light source, while strobes produce a powerful burst of light. Each type of light has its advantages and can be used to achieve different effects depending on the desired outcome.
Diffused Light
Diffused light helps to soften harsh shadows and creates an even illumination on the subject. It can be achieved by using softboxes, umbrellas, or sheer curtains to scatter or soften the light source. Diffused light is ideal for showcasing the textures and details of the food while providing a flattering and natural-looking illumination.
Golden Hour
The golden hour refers to the period shortly after sunrise or before sunset when the sun is low in the sky. The warm, golden light during this time creates a magical and romantic atmosphere in food photography. The low angle of the sun also creates interesting shadows and highlights, adding depth and dimension to the image. The golden hour is highly sought after by photographers for its soft, warm glow that can make food appear more enticing and appetizing.
Backlighting
Backlighting involves placing the light source behind the subject, which can create a halo effect or highlight the edges of the food. This technique adds depth and dimension to the image, making the food appear more vibrant and stand out from the background. Backlit food can have a glowing effect that enhances its visual appeal.
Fill Light
Fill light is used to reduce shadows and provide additional illumination to the scene. It helps to balance out the exposure and create a more pleasing overall appearance. Fill light can be achieved by using reflectors, bounce cards, or additional light sources to fill in the darker areas of the image. It is important to find the right balance between the main light source and the fill light to avoid overexposure or harsh lighting.
Setting Up the Shot
Finding the Right Background
The background of your food photography plays a crucial role in setting the mood and complementing the subject. Consider using a simple and neutral background that won’t distract from the food itself. Natural materials like wooden boards or textured surfaces can add visual interest and enhance the overall composition. Experiment with different backgrounds to find what works best for each dish and creates a cohesive visual story.
Composition Techniques
Composition is the arrangement and placement of elements within the frame. It is an important aspect of creating visually pleasing and balanced photographs. There are several composition techniques that can be applied to food photography to enhance the overall impact of the image.
Rule of Thirds
The rule of thirds involves dividing the frame into a grid of nine equal parts by two horizontal and two vertical lines. The main elements of the photograph should be placed along these lines or at the intersections, known as the “power points.” This technique creates balance and adds visual interest to the image.
Leading Lines
Leading lines are elements within the frame that guide the viewer’s eye towards the main subject or point of interest. This can be achieved by using the natural lines and shapes present in the scene, such as the edge of a table, a utensil, or a pattern on a plate. Leading lines help to create a sense of depth and draw the viewer’s attention to the food.

This image is property of images.unsplash.com.
Negative Space
Negative space refers to the empty or blank areas in a photograph. It allows the main subject to stand out and adds a sense of simplicity and elegance to the image. Leaving enough negative space around the food helps to create a clean and uncluttered composition, making the subject appear more prominent.
Food Styling
Choosing the Right Plateware
The choice of plateware can greatly influence the visual appeal and presentation of the food. Consider the style and theme of the dish when selecting the appropriate plate or bowl. Plain and neutral-colored plates can help draw attention to the food itself, while textured or colorful plateware can add visual interest and complement the colors and textures of the dish. Experiment with different types of plateware to find what works best for each specific dish.
Garnishing and Plating Techniques
Garnishing and plating techniques are essential in food styling to enhance the appearance and visual appeal of the dish. Consider the colors, textures, and shapes of the ingredients when deciding on the garnishes. Fresh herbs, microgreens, edible flowers, sauces, and sprinkles can add a pop of color and create visual interest. Pay attention to the placement and arrangement of the garnishes to create a visually pleasing composition.
Food Arrangement
The arrangement of food on the plate should be visually appealing and balanced. Consider the height, color contrast, and overall composition when plating the dish. Experiment with different arrangements and techniques such as layering, stacking, or fanning out the ingredients. Avoid overcrowding the plate and leave enough negative space to create a clean and elegant presentation.
Adding Texture
Texture plays a significant role in food photography. It adds visual interest and can elevate the overall appeal of the dish. Consider incorporating different textures through the use of ingredients, props, and plateware. Crispy elements, creamy sauces, and crunchy toppings can create contrasting textures that make the food more visually appealing.
Using Props
Props can help set the scene and create a storytelling aspect in food photography. Choose props that complement the style and theme of the dish. Consider the colors, textures, and shapes of the props to create a cohesive visual story. Simple and neutral props can help draw attention to the food, while textured or colorful props can add visual interest and enhance the composition.
Controlling Depth of Field
Aperture
Aperture refers to the opening in the lens that controls the amount of light entering the camera. It also directly affects the depth of field, or the area in focus, in a photograph. A wide aperture, represented by a smaller f-number (e.g., f/1.8), creates a shallow depth of field, with only a small portion of the image in sharp focus. This can be used to isolate the food from the background and create a pleasing background blur, or bokeh.

This image is property of images.unsplash.com.
Focal Length
Focal length refers to the distance between the lens and the camera’s image sensor. It affects the field of view and the amount of magnification in a photograph. Longer focal lengths, such as 85mm or 100mm, create a narrower field of view and greater magnification, allowing for more detailed shots of the food. Shorter focal lengths, like 35mm or 50mm, provide a wider field of view and are often used for capturing the entire scene or table setting.
Foreground and Background
Controlling the foreground and background elements in a photograph can help create depth and add visual interest. By placing elements in the foreground, such as utensils or ingredients, you can create layers and lead the viewer’s eye towards the main subject. Consider the colors, textures, and shapes of the foreground and background elements to create a visually pleasing composition.
Bokeh
Bokeh refers to the pleasing blur or out-of-focus areas in a photograph. It is achieved by using a wide aperture and can add a sense of depth and dimension to the image. Bokeh is often used to separate the subject from the background and draw attention to the main focal point. Experiment with different apertures and focal lengths to achieve the desired bokeh effect in your food photography.
Selective Focus
Selective focus involves deliberately choosing which part of the image to keep in focus while letting the rest of the scene blur out. This technique can be used to highlight a specific area or ingredient in the dish. By selectively focusing on the main subject, you can create a visually striking image that draws the viewer’s attention to the food.
Color Theory
Color Harmony
Color harmony refers to the pleasing combination of colors in a photograph. Combining colors that are adjacent on the color wheel, such as analogous colors, creates a harmonious and visually appealing image. Consider the colors of the food, props, and background when selecting a color palette for your food photography. Experiment with different color combinations to find what works best for each dish.
Contrasting Colors
Contrasting colors are colors that are opposite each other on the color wheel, such as red and green or blue and orange. Using contrasting colors in your food photography can create a dynamic and visually striking image. Consider incorporating contrasting colors in the props, garnishes, or background to create a bold and eye-catching composition.
Color Temperature
Color temperature refers to the warmth or coolness of light in a photograph. It is measured in Kelvin (K) and can greatly affect the mood and overall appearance of the image. Warm light, such as the golden hour lighting, creates a cozy and inviting atmosphere, while cool light, such as fluorescent lighting, can create a more clinical and sterile look. Experiment with different color temperatures to achieve the desired mood in your food photography.

Color Psychology
Color psychology explores the emotional and psychological effects of colors on human behavior. Different colors can evoke different emotions and create a certain mood in a photograph. For example, warm colors like red and orange can stimulate appetite and create a sense of excitement, while cool colors like blue and green can create a calming and serene atmosphere. Consider the emotions and feelings you want to convey in your food photography and select the appropriate color palette to enhance the desired mood.
Color Editing
Color editing allows you to fine-tune the colors in your food photography during post-processing. Adjusting the white balance, saturation, tint, and hue can significantly impact the overall appearance and mood of the image. Experiment with different color editing techniques to enhance the colors and create a cohesive and visually pleasing final result.
Working with Angles
Top-Down View
The top-down view, or flat lay, is a popular angle in food photography as it provides a unique and comprehensive perspective. It allows you to capture the entire scene, including the plate, props, and surrounding elements. This angle is particularly useful for showcasing a table setting or multiple dishes in a visually appealing way. Experiment with different heights and arrangements to find the best top-down view for each dish.
Eye-Level View
The eye-level view is a natural and easy way to capture food from the perspective of the viewer. It creates a sense of intimacy and allows the viewer to connect with the food on a personal level. This angle works well for capturing the details and textures of the food, as well as the plating and garnishes. Position yourself at eye level with the dish to achieve an authentic and inviting image.
Low Angle View
The low angle view involves shooting the food from a lower perspective, looking up towards the subject. This angle can create a sense of grandeur and make the food appear more dominant and imposing. It is particularly suitable for capturing tall or layered dishes, such as cakes or burgers. Experiment with different heights and angles to find the most flattering low angle view for each dish.
Bird’s Eye View
The bird’s eye view is a dramatic and visually striking angle that captures the food from directly above. It provides a unique perspective and allows for interesting compositions and arrangements. This angle works well for showcasing the shapes, colors, and patterns of the food. Consider using props or utensils to create leading lines and guide the viewer’s eye through the frame.
Macro View
The macro view involves capturing extreme close-up shots of the food, focusing on the intricate details and textures. This angle is perfect for showcasing the fine elements of the dish, such as the delicate frosting on a cupcake or the flaky layers of a pastry. Use a macro lens or macro extension tubes to capture the smallest details and create visually stunning images.
Editing and Post-Processing

Choosing the Right Editing Software
There are numerous editing software options available for post-processing your food photography. Adobe Photoshop and Adobe Lightroom are popular choices among photographers for their powerful editing capabilities and user-friendly interfaces. Both programs offer a wide range of tools and features to fine-tune exposure, white balance, colors, and overall composition. Experiment with different editing software to find the one that best suits your workflow and editing style.
Adjusting Exposure and White Balance
Exposure refers to the brightness or darkness of an image, while white balance relates to the color temperature or warmth of the light in the photo. During post-processing, you can adjust the exposure and white balance to enhance the overall appearance of the image. Pay attention to the highlights, shadows, and mid-tones to achieve a well-balanced exposure. Fine-tuning the white balance ensures that the colors in the photo appear accurate and true to life.
Enhancing Colors
Editing software allows you to enhance the colors in your food photography to create a vibrant and visually appealing final result. Adjusting the saturation, vibrance, and hue can make the colors pop and add depth to the image. Be careful not to overdo the color adjustments, as it can result in an unrealistic and overly saturated image. Strive for a natural and balanced color palette that complements the subject.
Cropping and Straightening
Cropping and straightening are essential steps in post-processing to refine the composition and framing of the image. Cropping can be used to remove distracting elements or create a more pleasing aspect ratio. Straightening ensures that the horizon or lines in the photo are level and aligned. Pay attention to the overall balance and symmetry of the image when cropping and straightening.
Sharpening and Noise Reduction
Sharpening is a post-processing technique used to enhance the clarity and sharpness of the image. It can help bring out the details and textures in the food. Noise reduction is used to reduce the grain or digital noise that can be present in low light or high ISO images. Use these techniques sparingly and ensure that the image appears natural and free from artifacts.
Creating a Narrative
Telling a Story through Food
Food photography can be much more than just capturing a beautifully plated dish. It can tell a story, evoke emotions, and transport the viewer to a specific time or place. Consider the narrative you want to convey with your food photography. Think about the ingredients, the preparation process, or the cultural significance of the dish. Capture the details and moments that make the experience of food unique and personal.
Adding Context and Props
Props can be used to add context and enhance the storytelling aspect of food photography. Consider incorporating utensils, ingredients, or objects that relate to the dish or the overall theme. These props can help create a sense of narrative and provide visual cues for the viewer. Be mindful of the balance and composition when including props to ensure they complement the food rather than overpower it.
Including People in the Shot
Including people in food photography can add a sense of scale, authenticity, and human connection. It can create a more relatable and inviting image. Consider showing hands pouring a sauce, taking a bite of the food, or sharing a meal with loved ones. People can also be used to create a sense of action or movement in the photograph. Experiment with different compositions and perspectives when including people in your food photography.
Creating Mood and Atmosphere
Mood and atmosphere are important elements in telling a story through food photography. Consider the emotions and feelings you want to evoke with your images. Lighting, composition, color palette, and props can all contribute to the overall mood and ambiance of the photograph. Pay attention to the details and elements that help create a specific atmosphere, whether it’s cozy and intimate or vibrant and lively.
Capturing Action
Capturing action in food photography adds a dynamic and engaging element to the image. It can show the process of cooking, pouring, or mixing ingredients. Action shots can create a sense of movement and energy, making the viewer feel more connected to the food. Experiment with different shutter speeds and compositions to freeze the action or create intentional motion blur.
Developing a Signature Style
Experimenting with Different Techniques
Developing your own signature style in food photography involves experimenting with different techniques, compositions, lighting setups, and editing styles. Try different angles, lighting setups, and props to discover what resonates with you and reflects your creative vision. Be open to exploring new ideas and pushing your boundaries to find your own unique style.
Finding Inspiration
Finding inspiration is key to developing your own style and voice in food photography. Explore different sources of inspiration, such as cookbooks, food magazines, social media platforms, and galleries. Pay attention to what catches your eye and resonates with you emotionally. Analyze the work of other photographers and study their use of lighting, composition, and storytelling. Use this inspiration as a starting point to develop your own unique approach.
Consistency in Editing
Consistency in editing is an important aspect of developing a signature style in food photography. It creates a cohesive and recognizable look across your body of work. Experiment with different editing techniques and find a style that reflects your personality and aesthetic preferences. Develop a set of editing presets or workflows that you can apply to your images consistently to create a cohesive visual identity.
Defining Your Color Palette
Defining a consistent color palette is essential in creating a signature style in food photography. Consider the emotions and moods you want to evoke with your images and select a range of colors that reflects that. Experiment with different color grading techniques and find a color palette that complements your subject and storytelling. Consistency in color can help create a cohesive and visually pleasing body of work.
Developing a Personal Aesthetic
Developing a personal aesthetic in food photography involves honing your unique perspective and voice. It is about expressing your vision, emotions, and stories through your images. Experiment with different techniques, styles, and compositions while staying true to your creative voice. Be open to feedback and critique from others, but ultimately trust your instincts and develop your own personal aesthetic.